Tips for Shooting Video on Green Screen
Green screen video shoots can offer a lot of freedom during editing, but they can also cause a ton of problems if not done correctly. Knowing how to properly shoot on green screen is crucial to having a final video that looks good with minimal headache in post production.
Below are some tips to make your next green screen video shoot more successful.
General Rules for Shooting on Green Screen
These are some general tips you want to adhere to. They will get you most of the way to the best key possible in post production, and pretty much apply to 90% of situations.
- Plan the final look of the shots ahead of time
- Keep the screen evenly lit
- Make sure the green screen is properly exposed – between 50-55 ire (if you need to, err on the side of slightly underexposed, but not too dark!)
- Keep the talent as far from the screen as possible to reduce green spill (green reflecting off the backdrop)
- Make sure no one wears green clothing (this sounds obvious, but it happens!)
- Add a rim light to the talent to separate them from the screen and reduce spill light – but only if it makes sense for the environment they will be placed in.
- If possible have the screen be slightly out of focus to hide any imperfections or unevenness in the screen
Plan your shots
Planning your shots before a green screen shoot is pretty much required. You need to make sure you get the angles and coverage that you need for your final composite.
Know What Your Background Will be Before You Shoot Your Green Screen Elements
It’s important to know what your final shot will look like before you set foot in a green screen studio. This way you can match the lighting and camera angle of your background during the shoot.
Even if you are just shooting an interview in front of green you will get a better final composite knowing which side of the subject should be lit and which side should be in shadow.
Planning is always a better option than if you just try to wing it, and “fix it in post.”
You can always adapt your plan later if necessary.
Green Screen Case Study
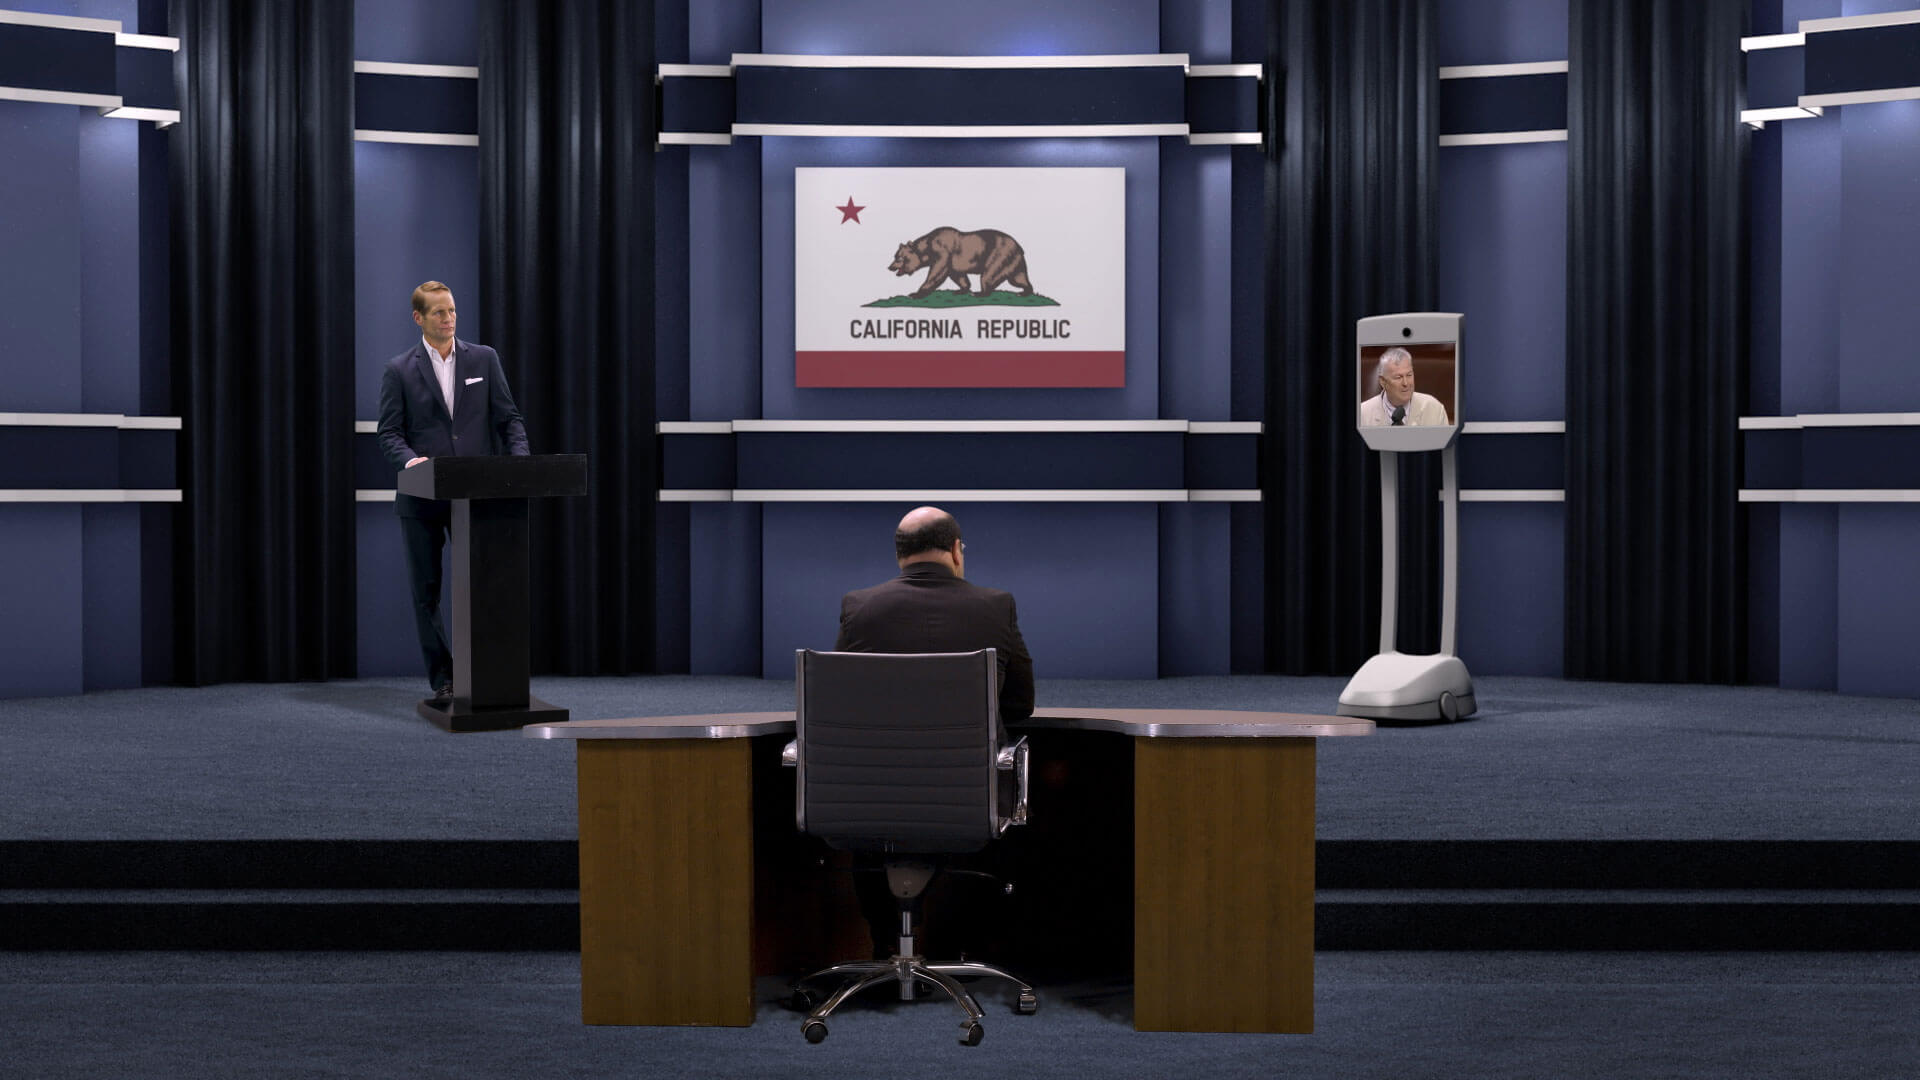
A while back I was hired to create a 3 minute political campaign video shot entirely on green screen. The video was a fake debate between a political candidate running for congress and the incumbent.
The plan was to shoot video of the candidate and a moderator against green screen in a studio.
The opposing candidate would appear via a telepresence (the thing that Edward Snowden uses for interviews). This allowed us to place different news clips of the incumbent on the screen for his answers.
This project had an extremely tight turnaround – 6 days total – 1 day for the green screen shoot and 5 grueling days of post production. This tight turn around meant preparation was going to be extremely important.
Preparing for the Green Screen Shoot
I researched the studio online before the previously mentioned shoot. I could tell by the measurements that the green screen wasn’t large enough to film both the candidate and the moderator at the same time. This meant they would need to be filmed separately.
Proper planning of each shot was essential, since I would need to match the camera angles during the shoot to pull off the final composite.
Previsualization of the Final Shots
I decided to base the debate stage on the presidential debates to make it familiar to viewers and easily recognizable. Once I had the rough size and shape of the stage built in Cinema 4D I inserted some stock human models and rough geometry for the podium and moderators desk.
I used the measurements of the props we were going to rent when roughing in the geometry. This meant I could be sure that spatially everything would work in the virtual environment.
Next I set up the camera angles I wanted to use. These were based on the camera angles that they use during the broadcasts of actual debates.
For each camera angle I rendered the full scene as well as a reference of the green screen plates that I would need to shoot for each final composite – in most cases this meant two separate green screen shots for one final image.
These images were printed out and used as our shooting plan in the green screen studio.

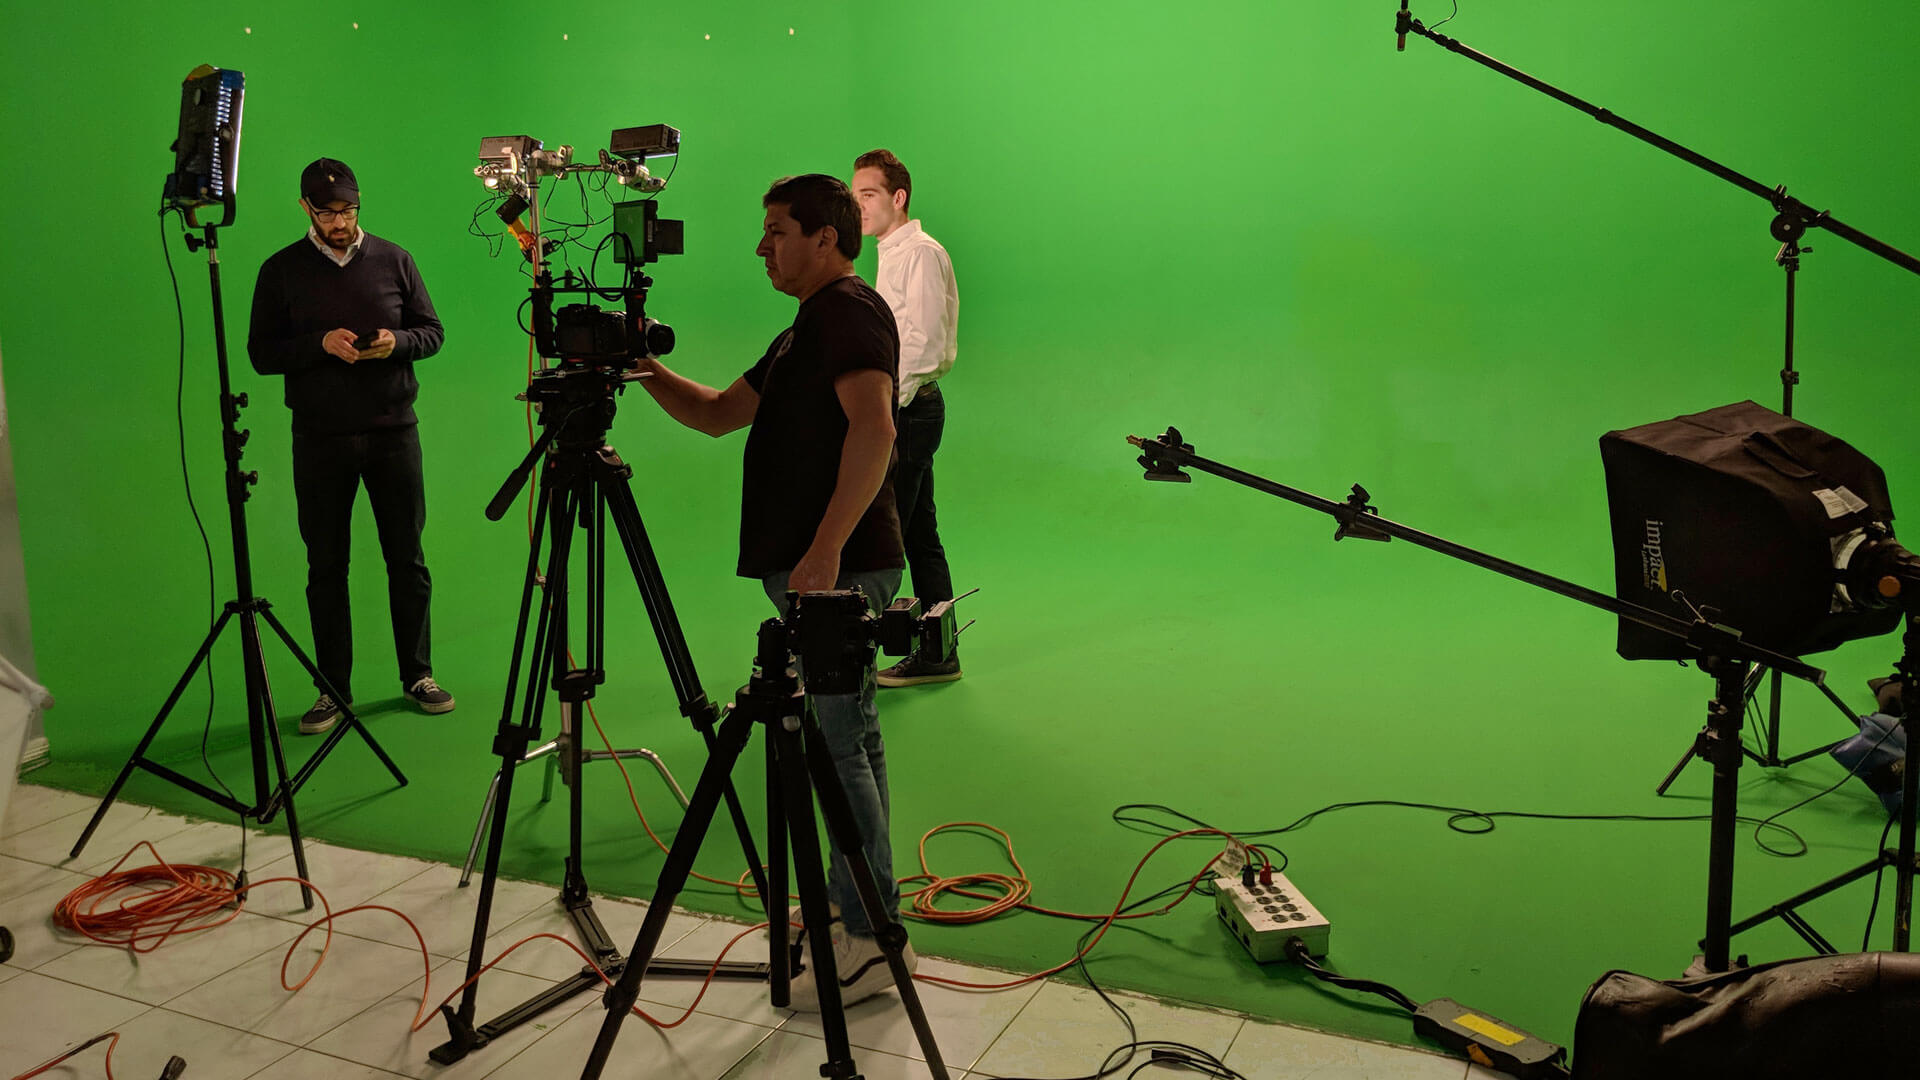
Shooting in the Green Screen Studio
Armed with my previz frames we just needed to match our camera angles to what was on the page.
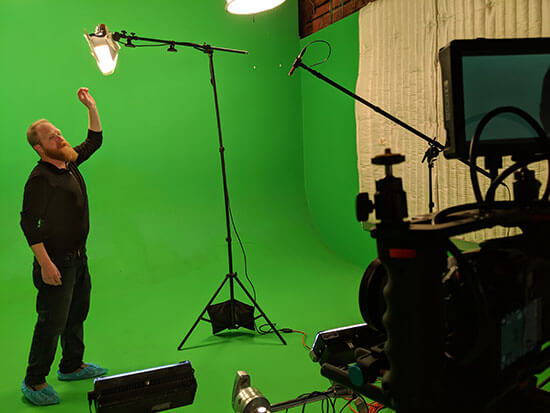
Often when setting up a green screen shoot you will need to match the lighting in the studio to the lighting in your background plate. (If all the shadows on your background are at a different angle than your foreground it will be a dead giveaway that the shot is fake)
In this case we were trying to match debate stage lighting which is very unnatural. It’s also somewhat flat with a heavy back light. In a real debate each person on the stage has their own separate lighting, which also made things a bit easier on us.
Luckily for me my fellow shooter, Robert Fernandez, has a ton of experience in news. Together we were able to quickly nail down the lighting of the talent, and get the green screen evenly lit.
Filming the Moderator
The moderator shots were fairly straight forward – 3 angles from the front, and 3 from the back of the desk. To get the shots from behind the moderator we rotated the desk 180 degrees so the talent was facing the green screen. We then did a quick adjustment to our lights and were ready to roll.
Filming the Candidate
The shots of the candidate presented a little bit more of a challenge. We needed to have close ups as well as full body shots. I decided to bring my ball head from my travel photography tripod. With the ball head I was able to rotate the camera 90 degrees on its Z axis, so it was in “portrait mode.”
Since I was shooting in 4K, I had 3840 pixels of height, which was plenty to crop in to a close up for an HD frame. This allowed me to get both a full body shot, and a close up from the same camera, while Robert could get another angle from his camera. Thus we captured 3 camera angles at the same time with only two cameras.

Matching Eye Lines During the Green screen shoot
In order to have the talent looking in the right location for the final composite we needed to make sure they understood where the other people would ultimately be.
To get the political candidate looking in the correct location we simply mounted the teleprompter onto the camera he was supposed to look at (where the moderator would ultimately be placed). The second camera was then used to capture ¾ shots. To get him to address the other candidate on the stage he just needed to gesture 90 degrees to his left.
The moderators interactions were slightly more involved since he had to switch between which person he was speaking to more frequently.
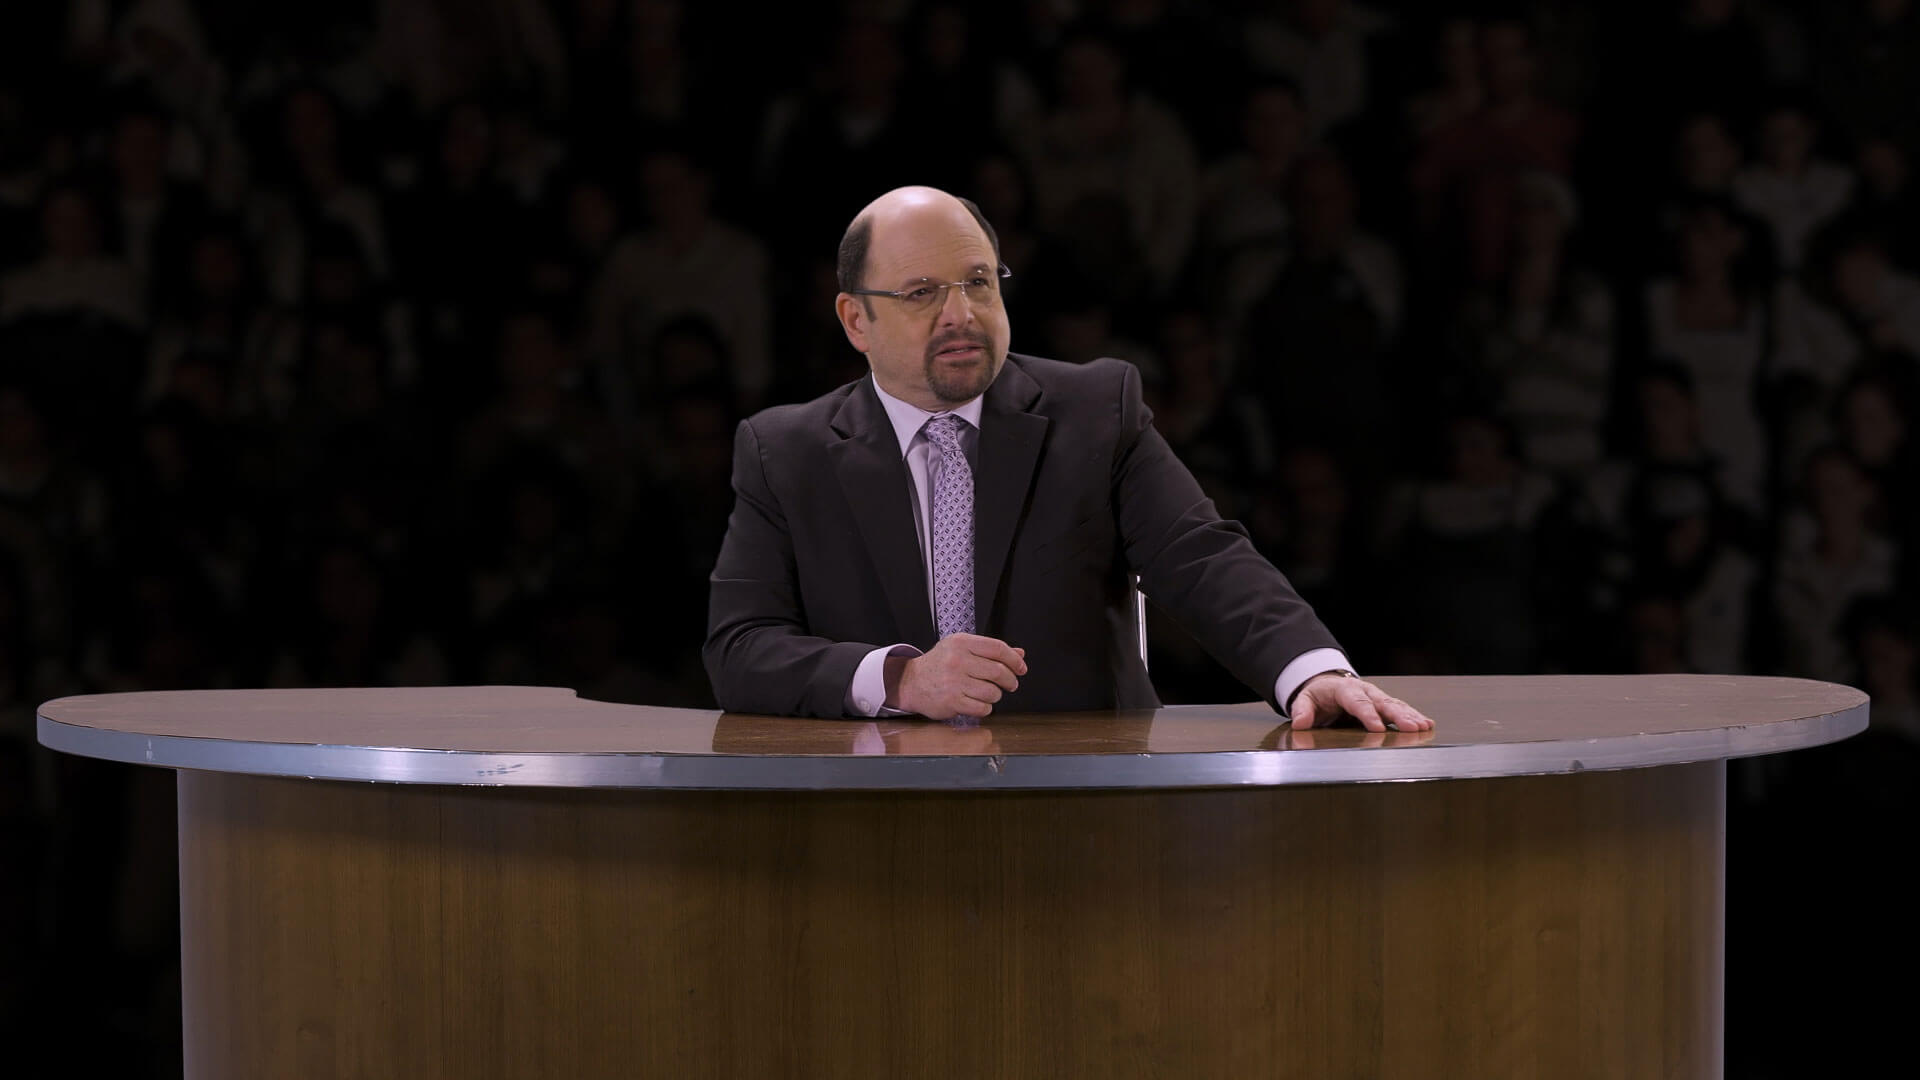
Luckily we had Jason Alexander from Seinfeld fame playing the debate moderator. He definitely helped sell the interactions between the moderator and the candidates – it’s almost like he has done this sort of thing before…
For his shots we placed the camera with the prompter in the location of the candidate he was addressing. The other camera was placed straight in front of the desk. For times when he turns from one candidate to the other we used a light stand as a place holder, so he knew where to look.
The Final Outcome
Overall the shoot and final project turned out great (especially for a 6 day turnaround!). The campaign video got a ton of news coverage and the candidate is now a congressman. (if you want to say it was all because of my video, I won’t argue)
My previz work definitely paid off during the shoot. Some compromises had to be made due to the small size of the green screen studio, but all of my planning meant we just needed to match the images on the page as close as we could.
If we had tried to figure things out in the studio, it would have all fallen apart. Without proper planning our actors eye lines would have been wrong, and the camera angles would have never matched up for the wide shot composites.
In a future post I’ll go over some tips for keying.